


Industrial Painting: A Step-by-Step Guide
Industrial painting is a crucial aspect of maintaining the integrity and longevity of various structures and equipment. The process involves several steps that must be followed to ensure that the final product is of the highest quality and meets industry standards. In this blog post, we will go through the steps of industrial painting and explain what each step entails.
Step 1: Environmental Conditions
The first step in industrial painting is to ensure that the environment is suitable for the process. Factors such as humidity, surface temperature, and ambient temperature must be taken into consideration. High humidity can cause paint to take longer to dry, while high surface and ambient temperatures can cause the paint to dry too quickly and result in an uneven finish. It's important to make sure that the humidity is below 85%, surface temperature is at least 5 degrees Celsius above dew point, and ambient temperature is between 5 and 40 degrees Celsius.
Step 2: Surface Preparation
The second step is surface preparation, which involves a visual examination of the surface to be painted, solvent cleaning, and a dust test. This step is crucial as it ensures that the surface is free of any contaminants that could affect the adhesion of the paint. A roughness test is also done to ensure that the surface is suitable for the type of paint that will be used. Once the surface is prepared, it must be thoroughly cleaned and dried.
Step 3: Surface Contamination Control
The third step is controlling surface contamination. Water-soluble salts, such as chloride and sulfate, can cause paint failure if not removed. This step involves testing for these contaminants and taking measures to remove them if present.
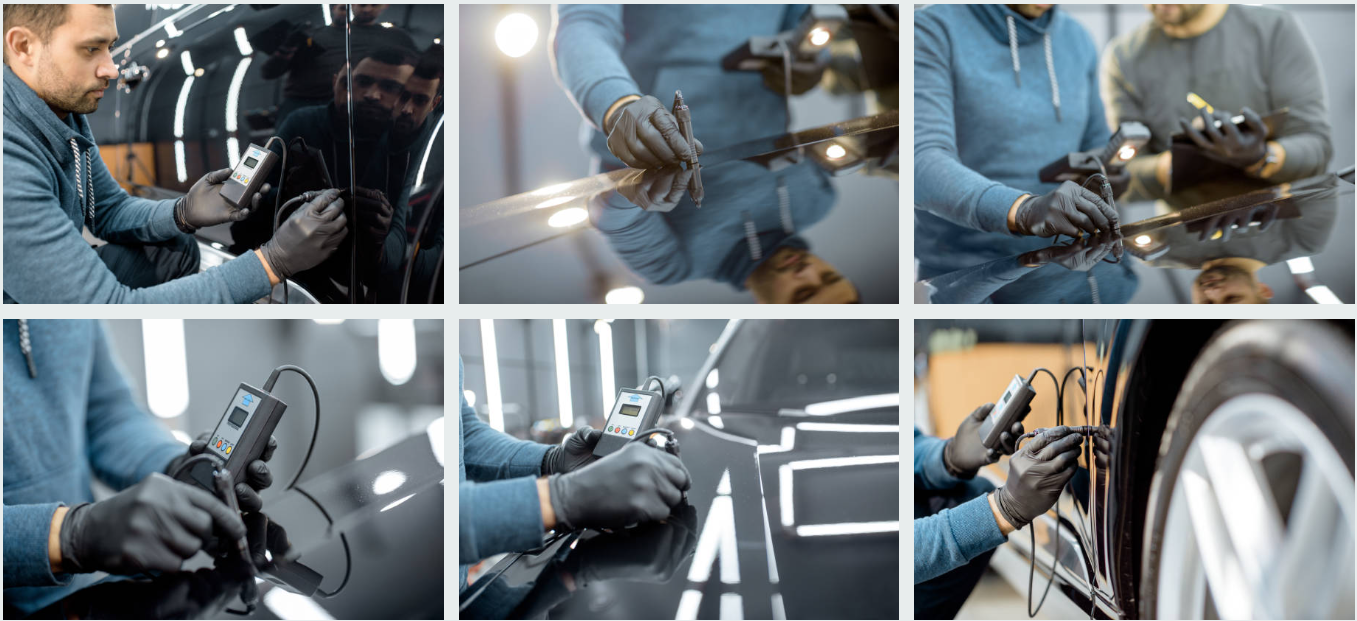
Step 4: Primer Coat Thickness Measurements
Once the surface is properly prepared and cleaned, the next step is to apply a primer coat. The thickness of the primer coat must be measured to ensure that it meets industry standards. This step is important as it helps to ensure that the paint will adhere properly and provide a good base for the final coat.

Step 5: Curing Test (IOZ)
After the primer coat has been applied, the curing test (IOZ) is performed. This test measures the curing rate of the paint and ensures that it is progressing as it should. It helps to identify any issues that may arise during the curing process, such as the presence of contaminants or improper application of the paint.
Step 6: Second Coat and Third Coat Thickness Measurements (if required)
If a second or third coat is required, it will be applied and the thickness measured to ensure that it meets industry standards. The surface should be visually examined to ensure that the coats have been applied evenly and without any defects.
Step 7: Visual Examination and Final Coating Thickness Measurements
Once the final coat has been applied, a visual examination is performed to ensure that the paint has been applied evenly and without any defects. The final coating thickness is measured to ensure that it meets industry standards.
Step 8: Painting Repairs
If any issues are identified during the visual examination, repairs will be made to the paint. This could include touch-ups, recoating or repainting certain areas, or removing and replacing damaged paint. The type of repair will depend on the severity of the damage and the type of paint used. The goal of this step is to ensure that the paint is in good condition and looks uniform across the entire surface.
Step 9: Adhesion Test
After the painting repairs have been completed, an adhesion test is conducted to ensure that the paint is properly adhered to the surface. The test involves applying a small amount of force to the paint and measuring the strength of the adhesion. This step is important as it helps to ensure that the paint will not peel or flake off over time.
Step 10: Holiday Test (if required)
A holiday test (or "pinhole test") is sometimes performed to detect any small areas where the paint has not properly adhered to the surface. This test involves applying a high voltage current to the paint and detecting any areas where the current is not flowing properly, indicating that the paint is not adhered in that area. This test is typically only required for certain types of industrial coatings.

Step 11: Final Acceptance
Once all the steps have been completed and the paint has passed all tests and inspections, final acceptance is given. The completed surface is now ready for use and should provide long-lasting protection and durability.
In conclusion, industrial painting is a multi-step process that involves a thorough examination of the surface to be painted, surface preparation, application of multiple coats of paint, and various tests to ensure that the final product meets industry standards. Properly maintained painted surfaces not only improve the appearance but also protect the underlying material from harsh environmental factors.


0 Comments