
Industrial Insulation: A Step-by-Step Guide
Insulating industrial equipment and pipes is crucial for maintaining safe and efficient operations. In this post, we will discuss the steps involved in industrial insulation, from materials storage to final acceptance.
1. Verification of Materials Storage Conditions
The first step in industrial insulation is to verify the storage conditions of the materials. Insulation materials should be stored in a dry and well-ventilated area to prevent moisture damage and deterioration.
2. Repairs / cleaning of damaged/contaminated areas, (if necessary)
If any areas of the equipment or pipes are damaged or contaminated, repairs and cleaning should be done before insulation is installed. This will ensure that the insulation is applied to a clean and stable surface.
3. Sacrificial Foil Installation (if required)
In some cases, a sacrificial foil may be required to protect the insulation from mechanical damage or UV radiation. If this is the case, the foil should be installed before the insulation.
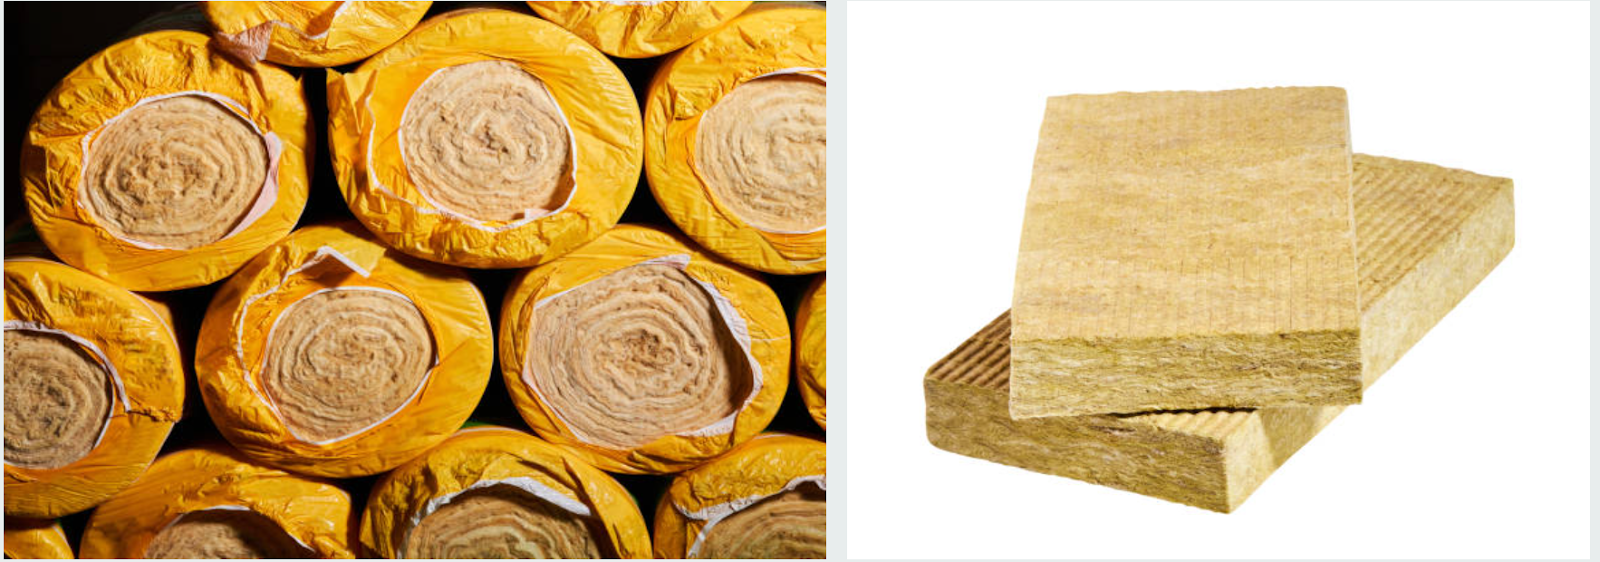
4. Verification of Type and Thickness of Insulation Material
Before installation, it is important to verify the type and thickness of insulation material that is required for the specific equipment or pipes. This will ensure that the insulation will perform as intended.
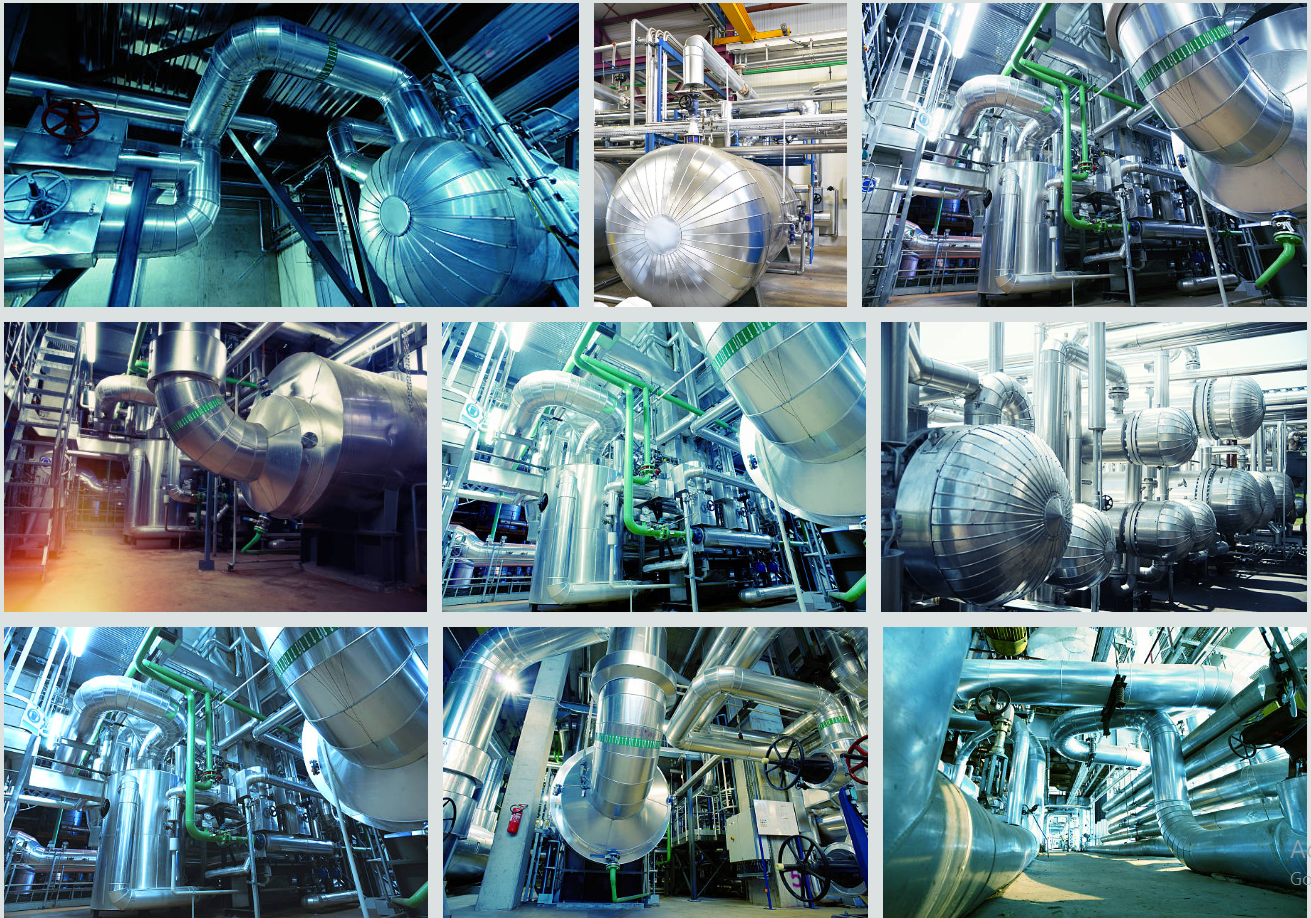
5. Insulation Installation
The insulation material can now be installed, following the manufacturer's instructions and industry standards.

CINI Manual
CINI Manual is a standard for insulation companies, industrial companies, their staff and consultants to achieve optimal quality of insulation systems.
6. Expansion Joints installation
Expansion joints should be installed to accommodate the thermal movement of the equipment or pipes. This will prevent the insulation from cracking or breaking.
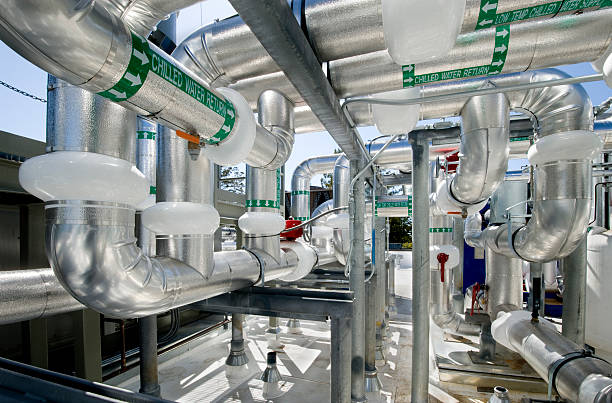
7. Cladding Installation
Cladding can be installed to provide additional protection for the insulation and to improve its appearance.
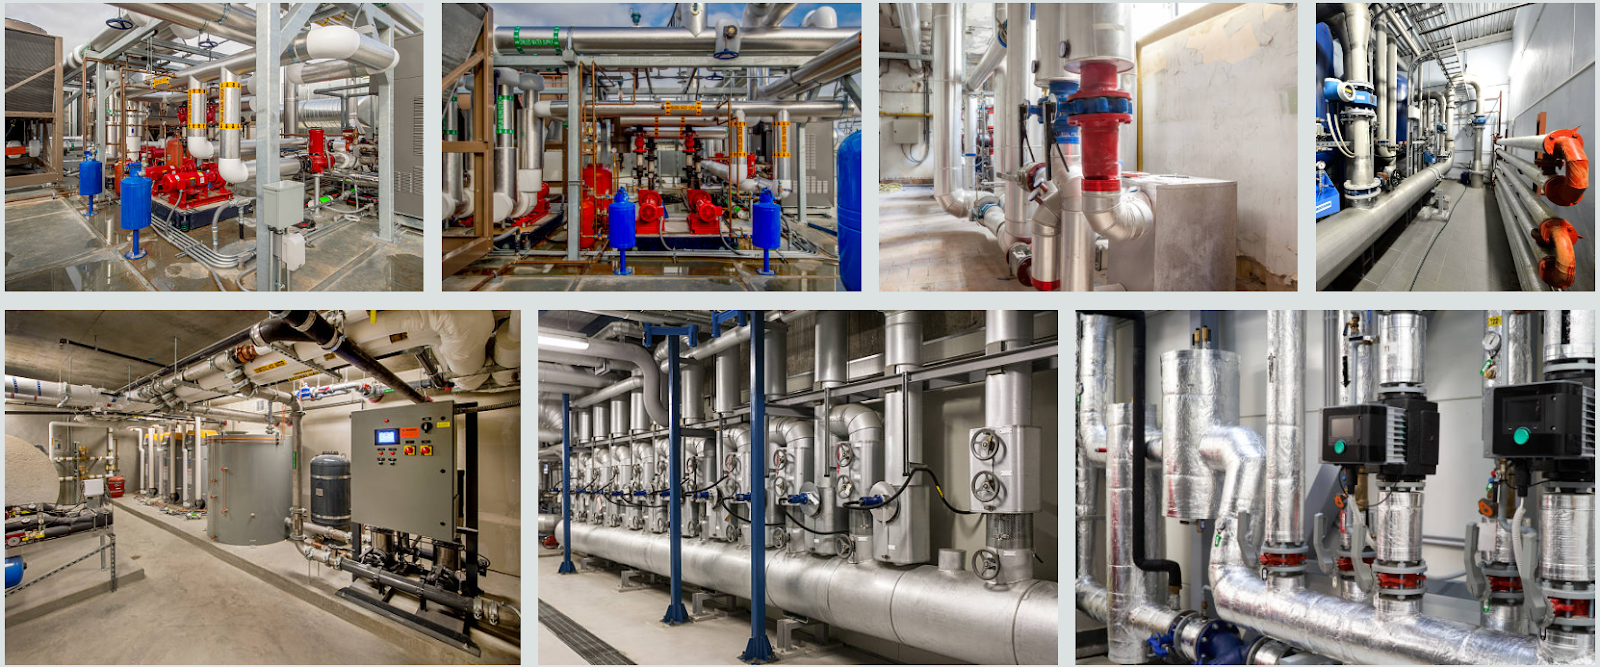
8. Fasteners and Accessories Installation
Fasteners and accessories, such as insulation anchors, should be installed to securely hold the insulation in place.
9. Insulation of supports
Insulation should also be installed on supports, such as brackets and saddles, to prevent heat loss.
10. BOXES Installation (Flange Box & Valve Box)
Flange boxes and valve boxes should be installed to insulate and protect flanges and valves.
11. Repair of Defects or Damages
Any defects or damages that are found during or after installation should be repaired immediately.
12. Visual Inspection
A visual inspection should be done to verify that the insulation has been installed correctly and that there are no defects or damages.
13. Final Acceptance
Upon completion of the above steps, the industrial insulation should be accepted and the equipment or pipes can be put into service.
By following these steps, industrial insulation can be installed properly and efficiently, ensuring the safe and efficient operation of equipment and pipes. It is important to remember that regular maintenance and inspections should be conducted to ensure that the insulation remains in good condition and continues to perform as intended.


0 Comments